Glazing Techniques: From Basic to Advanced
Discover the art of glazing with comprehensive techniques that will transform your pottery from simple to stunning.
Glazing is where pottery truly comes to life. The right glaze can transform a simple clay vessel into a stunning work of art. Whether you're just starting out or looking to expand your glazing repertoire, understanding these techniques will elevate your pottery to new heights.
Understanding Glazes
Glazes are essentially glass coatings that melt and fuse to the clay surface during firing. They serve both functional and aesthetic purposes, making pottery waterproof while adding color, texture, and visual interest.
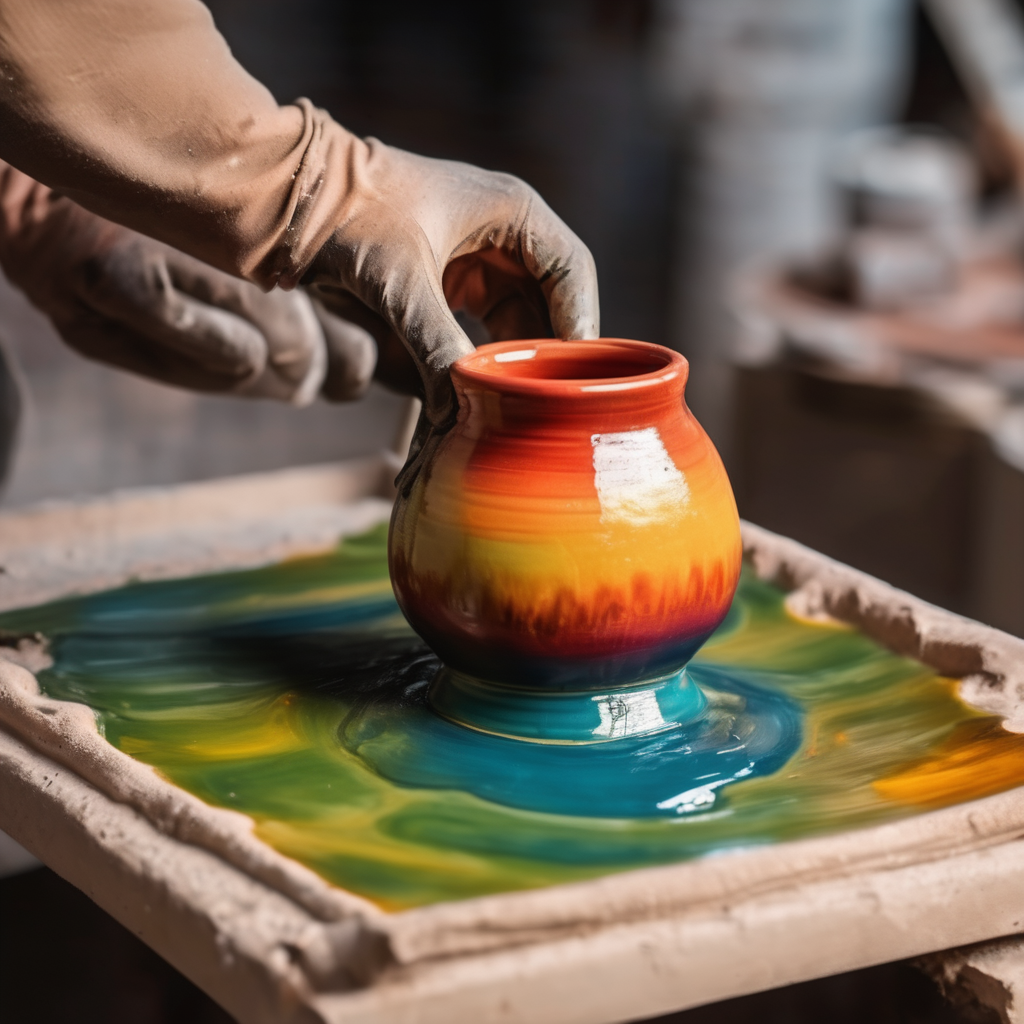
Basic Glazing Techniques
Dipping
The most straightforward method involves dipping your bisque-fired piece into a bucket of glaze:
- Ensure your piece is clean and dust-free
- Hold the piece with tongs or your fingers
- Dip quickly and smoothly into the glaze
- Allow excess glaze to drip off
- Clean the foot of the piece to prevent sticking
Brushing
Brush application offers more control and is perfect for detailed work:
- Use soft, natural bristle brushes
- Apply thin, even coats
- Allow each coat to dry before applying the next
- Typically requires 2-3 coats for full coverage
Pouring
Ideal for large pieces or creating flowing effects:
- Place the piece on a turntable over a catch basin
- Pour glaze steadily while rotating the piece
- Work quickly to maintain wet edges
- Perfect for achieving even coverage on large surfaces
Intermediate Techniques
Layering Glazes
Combining different glazes can create unique effects:
- Apply base glaze first and let dry completely
- Apply second glaze in patterns or full coverage
- Consider how glazes interact during firing
- Test combinations on sample tiles first
Wax Resist
Use wax to create patterns and prevent glaze adhesion:
- Apply wax emulsion to areas you want to remain unglazed
- Glaze over the wax - it will bead up and not adhere
- Wax burns away during firing, leaving exposed clay
- Great for creating geometric patterns
Advanced Techniques
Crystalline Glazes
These specialized glazes form crystals during cooling:
- Require specific firing schedules with controlled cooling
- Contain zinc and titanium to promote crystal growth
- Need catch plates as they tend to run
- Create stunning, unique surface effects
Raku Glazing
A dramatic technique involving post-firing reduction:
- Use special raku glazes formulated for thermal shock
- Remove pieces from kiln while red-hot
- Place in combustible materials for reduction
- Creates metallic lusters and crackle effects
Salt and Soda Firing
Atmospheric glazing techniques that create unique surfaces:
- Introduce salt or soda into the kiln during firing
- Creates natural ash glazes and orange peel textures
- Requires special kiln setup and safety precautions
- Produces distinctive, organic-looking surfaces
Troubleshooting Common Issues
- Crawling: Usually caused by dust or oil on bisque
- Pinholing: Often from thick glaze application or fast firing
- Running: Glaze applied too thick or firing too hot
- Bare spots: Contamination or glaze too thin
Safety Considerations
Always prioritize safety when glazing:
- Work in well-ventilated areas
- Wear appropriate protective equipment
- Never eat or drink in the glaze area
- Properly dispose of glaze materials
Glazing is both an art and a science. At Cornwall Clay Craft, we encourage experimentation while emphasizing proper technique and safety. Our advanced glazing workshops provide hands-on experience with these techniques in a supportive, well-equipped environment.
About James Cooper
James Cooper is a skilled ceramic artist and instructor at Cornwall Clay Craft, passionate about sharing the history and techniques of pottery.